canon rebel
Use of Fill Flash Outside
I’ve read about using fill flash, but I had never tried using this photography technique until last week. Now I think it is the most valuable tool ever invented on the camera (just kidding) . Many people totally believe in natural lighting, while I can respect that I also believe in using tools to improve results.
When my daughter and I took a trip to Missouri and Arkansas to tour a few colleges we decided to make it a camping trip. Two out of the three days we camped out in tents by the lake and it was wonderful The scenery is so unlike the plains of Nebraska I was itching to capture and play with different settings on my camera. My daughter was a willing subject on this trip and I was bound and determined to make the most of the opportunity.
With so many trees around she was constantly in the shade. The first photo above was disappointing as I had too much shadow on her face. Then the brainstorm. “Let’s try the flash? Stay right there and smile. ” I popped it open, heck why not? I set the intensity on the menu as high as it would go as I was using the 75-300 lens from about 20 feet away.
What a difference! The extra lighting opened up the shadows, warmed the tone of the photo, and overall enhanced the image.
Photo was taken with a Canon Rebel XS so it’s far from a professional camera by far, but I got much better results straight out of camera which is the ultimate goal of any photographer. Time saved in post production is more time shooting.
Using a Flash Diffuser
Many times people avoid using a flash for the dreaded “flash burn” on the skin and highlights. Professional photographers control this in the studio by using soft boxes or flash diffusers which cover or screen the bright bulbs. The same thing can be accomplished with using a diffuser.
There are even flash intensifiers such as the Rogue flash booster. This is designed when long range lighting is needed beyond the 10-15 feet of a pop-up flash.
Pop-Up Universal Soft Screen Box External Flash Rogue Safari DSLR Pop-Up Flash Booster (Black)
 Opteka PD-10 Universal Soft Screen Pop-Up Diffuser
 pangshi® Flash Bounce Reflector Card Diffuser Reflective
 Micnova Universal Soft Screen Flash Diffuser for
 Professor Kobre’s Lightscoop, Warm Version Bounce Flash
How to use On Camera Fill Flash
- 8 On-Camera Flash Tips: How To Get Better Lighting From Your On-Camera Flash (digital-photography-school.com)
- Photography 101 – Adjusting Your On-Camera Flash (tech4mommies.com)
- Tips for Using Your Pop-up Flash (nikonusa.com)
- i-TTL Balanced Fill Flash (nikonusa.com)
Summertime Sports Photography
I am always trying to expand my photography skills and shoot different topics, events, and subjects.
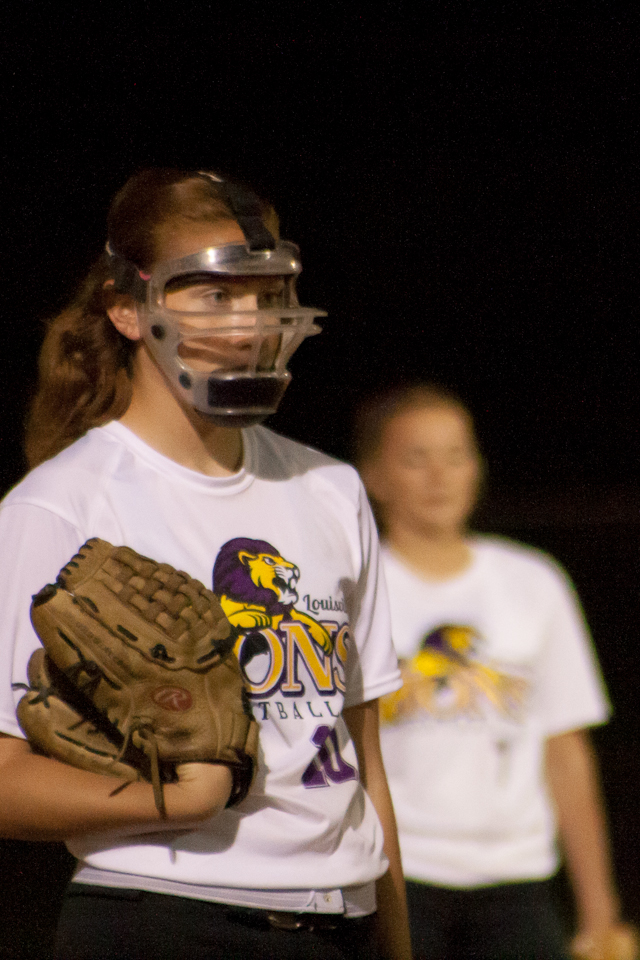
It isn’t often I have full permission from my daughter to take my camera (Canon Rebel XS) to her softball game. So when I got the chance I took it, and did I ever experiment with night action sports photography. Not easy, but I finally did get the hang of it. I set my camera on manual and just played until I got it right.
The above picture was taken with at 1600 ISO, 5.6 F stop, and a 1/160 shutter speed, 75 mm zoom with a continuous burst with the camera file size at small for a faster response. With the exception of the graininess at the high ISO I’m pretty happy with the results.

Again graininess with 1600 ISO, but right now I can’t see anyway around it, 800 was too dark with the needed shutter speed. The second photo was on large/RAW file size and was a little dark in the original image. With the lens resting on the fence I shot through the chain link at 300mm focal length, 1/160th of a second at a 5.6f
I increased the exposure in Lightroom, cropped the original horizontal shot to vertical, decreased the white and decreased the shadows. Don’t like how the grain distorts the background player, but couldn’t figure out a way to compensate.

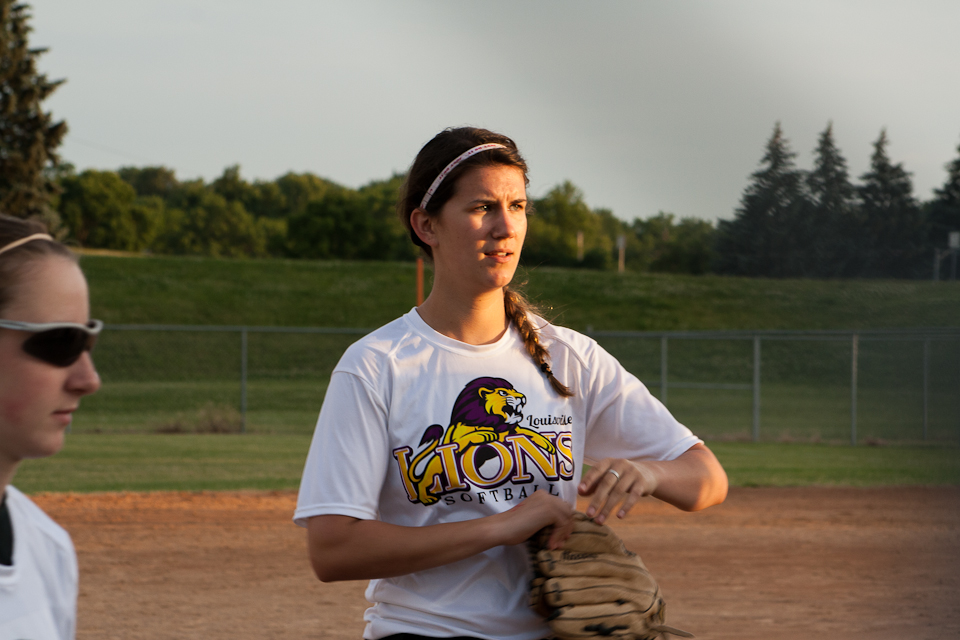
The last photo was obviously taken earlier in the night before the sun went down. All I did here was decrease the exposure, increase shadows, and warm the white balance. My camera tends to shoot cool (blue) and a the sun was glowing on all the players. I try really hard for realism in my editing and this is what my eye saw.
My daughter has played softball since T-ball in preschool starting at Elmwood-Murdock, then Lincoln Y-league, Eagle, and the past three years for Louisville. The Louisville team joined the Omaha league a few years ago and the first year they didn’t win a game. Competition was a little harder than their previous league and the girls had to try a little harder. The record the next year was about a 50:50 record.
A lot of the girls play on two teams, most of the teams are Select and have the intimidating matching travel bags, and “muscle” jerseys. Most play school ball, but it doesn’t matter what they look like, can they play? My daughter loves the game, she only plays during the summer and she has a mean steal and isn’t afraid to use it and slide to where she wants to go.
Photography Tips
- Anticipate your shots, know when the pitcher is going to throw.
- Push your ISO as high as you need to get a 1/200 speed exposure
- Use a lower aperture, backgrounds will blur, but you will accent your subject.
- Use a tripod, monopod, or rest your camera on a steady surface. Fence gaps work well
- Get the “personality” shots, the concentration of the pitcher, or first base.
- Shoot in RAW for “still” shot, JPG continuous for action
- Use your longest zoom for outfield shots, even 2nd base is a long ways off
I’m a big proponent of shooting in RAW, but there are many instances that a regular JPG photo will work just fine, especially if you taking the photos for yourself and just going to post to Facebook and share with friends. If you’re goal is to enlarge the photos, post them for sale, or use them commercially, then a camera with a wider range of options is necessary.
How to Photograph Night Sports
- Understanding ISO Sensitivity (nikonusa.com)
- Photography and the “Big 3″ (joshmsmith.wordpress.com)
- ISO – What is it and how do I use it? (joestechthoughts.wordpress.com)
- Aperture Priority and Shutter Priority: Exposure Lesson #1 (digital-photography-school.com)
- American Legion Baseball (3QuartersToday.com)
#5/52: Snow Storm in Nebraska
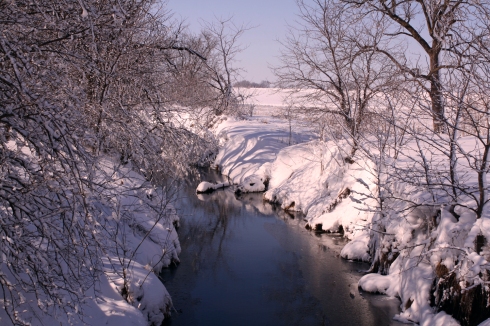
When it snows in Nebraska, it really snows. When the wind stops blowing, the snow settles into the trees, and the sun comes out the countryside is a magnificant site. If it is a wet spring snow it sticks to everything, covering the trees, and making for more photo opportunities than I could choose from, so here are a few more from rural Nebraska.
I always am looking for a good excuse to drive around the country, test out my camera and snow is a good opportunity to learn more about white balance and how to get true whites during snow and not blue.
Right now I’m just going to post the results. All of the photos are SOOC (straight out of camera) with the exception of the top photo, the greenish tinge just kept bugging me so I adjusted the white balance in a levels layer.


Week 1: Happy New Year 2012
I’m going to try my 365 project again, but this year make it realistic and try the 52 Week project. I’ll still try and add extra postings in between as I learn more about my camera, have a recipe to post, or food pictures. But I’m setting myself up to succeed, with less stress.
Last year was my first 365 project and I made it to day 312 posting everyday, but then life got in the way. I still consider it a success. I made some new friends, learned more about my camera and ultimately achieved my goal. I received a new camera. More on that later.
For today this week, it’s a simple Happy New Year 2012


